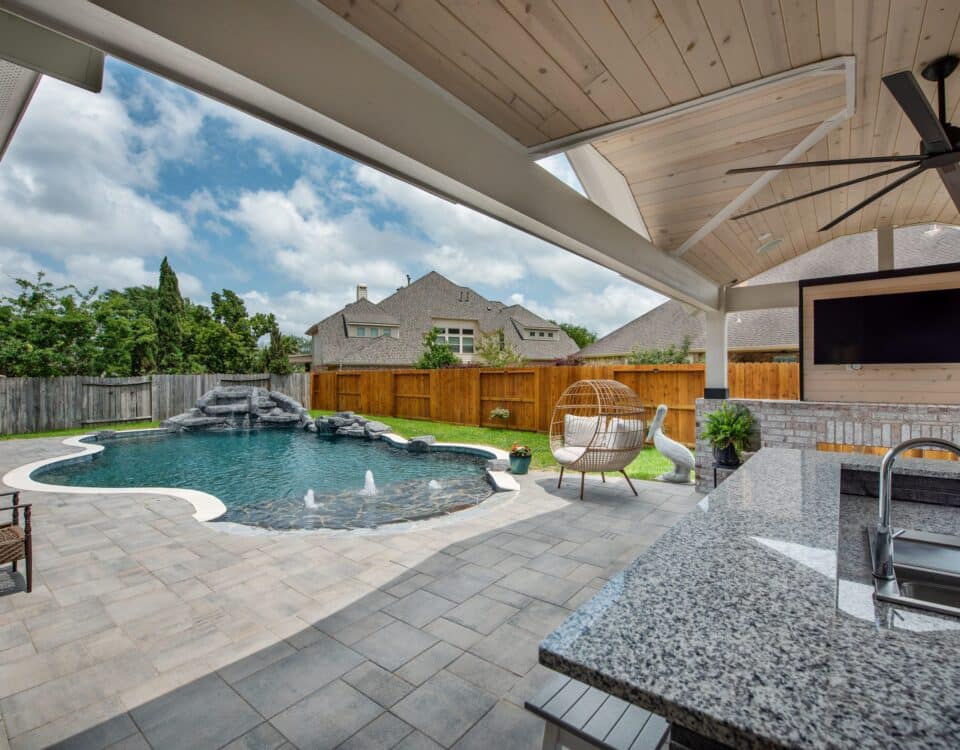
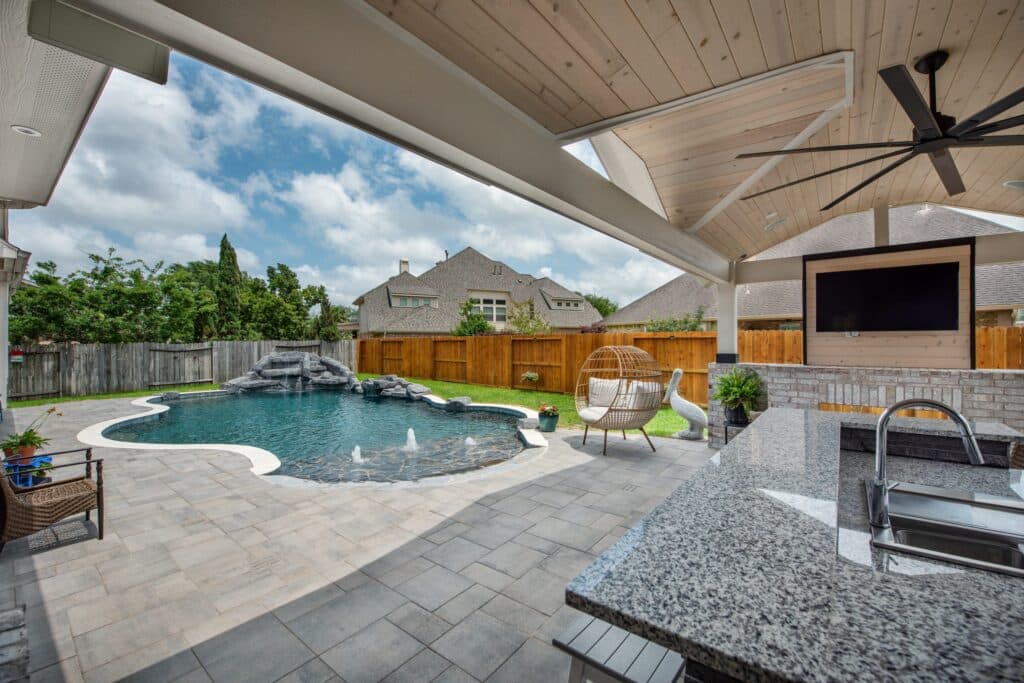
Building a custom pool is one of the most exciting investments a homeowner can make. It is also a process that involves many moving parts, and knowing what to expect at each stage makes the experience far less stressful. At Avree Custom Pools, we guide Houston homeowners through every step so there are no surprises along the way. Here is exactly how a custom pool goes from an idea to a finished backyard retreat.
Step 1: The Design Consultation
Everything starts with a conversation. During your initial consultation, a designer visits your property, takes measurements, and learns about your vision, your lifestyle, and your budget. This is the stage where you discuss pool shape, size, features like spas and water features, decking preferences, and any specific needs your family has.
After the on-site meeting, the team creates a detailed 3D rendering of your proposed pool. This highly realistic visual lets you see your finished backyard before a single shovel breaks ground. Therefore, you can make changes and refinements before any construction begins.
Step 2: Permits and Approvals
Once you approve the design, the permitting process begins. This step often surprises homeowners because it takes longer than expected. Your builder submits plans to your local municipality, and the timeline for approval varies depending on the city or county.
Additionally, your HOA may require its own approval process if applicable. Your pool builder handles the permit submissions on your behalf, but understanding this step helps you set realistic expectations for your overall project timeline.
Step 3: Layout and Excavation
With permits in hand, work on your property begins. The crew marks out the precise shape of the pool on the ground according to the approved plans. Then, excavation begins, removing the earth to the exact depth and dimensions required.
This phase moves quickly and is one of the most visually dramatic steps in the process. In just a day or two, your backyard transforms dramatically. The crew removes dirt, clears the access route, and prepares the space for the structural phase.
Step 4: Steel and Plumbing
After excavation, the structural skeleton of your pool takes shape. A crew installs a grid of steel rebar throughout the pool shell, which gives the finished structure its strength. At the same time, all plumbing lines are laid, including return lines, suction lines, and any lines for water features, lighting, or automation systems.
This is also when electrical conduit is run for lighting and equipment. All of these components are inspected before the next phase begins. Therefore, catching any issues at this stage is far easier than after the shell is complete.
Step 5: Gunite Application
Gunite is the material that forms the actual shell of your pool. It is a reinforced concrete mixture that is pneumatically applied by a skilled crew, conforming perfectly to the shape of your steel structure. Gunite is incredibly durable and is the preferred method for custom pools in Houston because it allows for virtually any shape or design.
After the gunite is applied, it must cure for several days before the next phase can begin. During this curing period, the crew typically keeps the shell damp to ensure the concrete reaches its maximum strength.
Step 6: Tile, Coping, and Decking
This is the phase where your pool starts to look like the 3D rendering you approved. Waterline tile is installed along the perimeter at the waterline, and coping is applied around the top edge of the pool. These elements are among the most visible design choices and have a major impact on the finished look.
Next, decking is formed and poured or installed around the pool. Depending on your chosen finish, this may involve stamped concrete, natural stone, travertine pavers, or a cool deck surface. Additionally, any outdoor living structures such as pergolas or outdoor kitchens are built during this phase if included in your project.
Step 7: Equipment, Interior Finish, and Startup
In the final phase, all pool equipment is installed, including the pump, filter, heater, and any automation systems. The interior finish is then applied over the gunite shell. Common options include mini pebble, quartz aggregate, glass bead finishes, and mosaic tile accents. The interior finish affects both the appearance and the feel of the water.
Once the interior cures, the pool is filled with water. The startup team tests every system, balances the water chemistry, and walks you through what is known as Pool School, a training session that teaches you how to operate your equipment and maintain your pool properly.
From that point forward, your backyard is officially transformed. At Avree Custom Pools, we build every pool with the same level of craftsmanship and attention to detail because we believe your outdoor space should be as impressive as the inside of your home.